Dreams Beneath The Searing Sand is a world quest under Golden Slumber in Sumeru.
Your objective is to get inside Khaj-Nisut to learn about the truth.
Here’s a walkthrough of Dreams Beneath the Searing Sand in Genshin Impact.

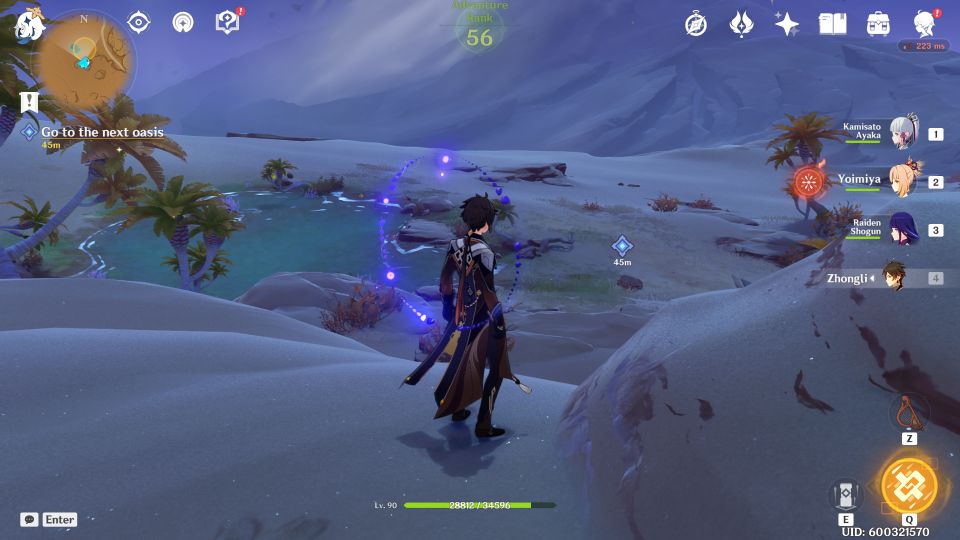
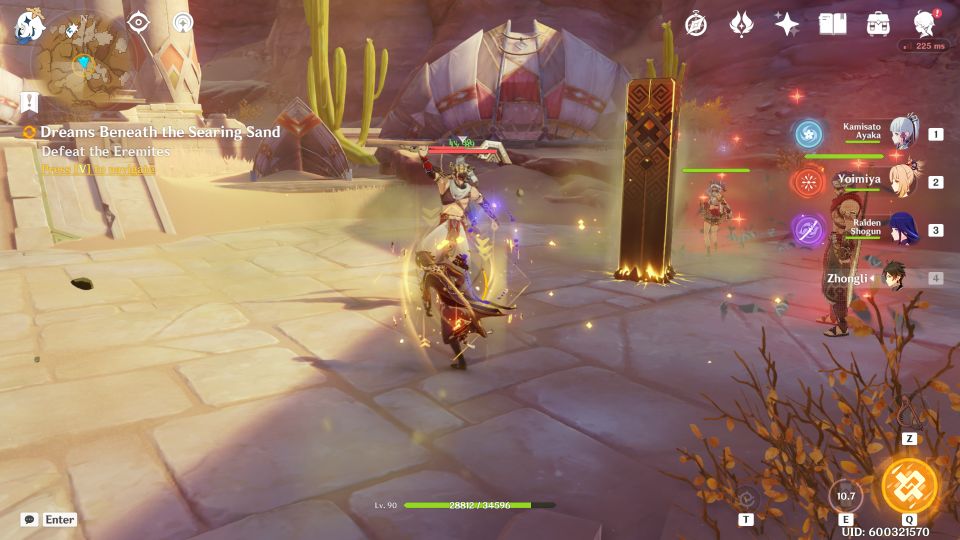
To begin, head to the oasis from before. Defeat the Eremites there.

Go to the next oasis
Now, head to the other oasis near Khaj-Nisut.
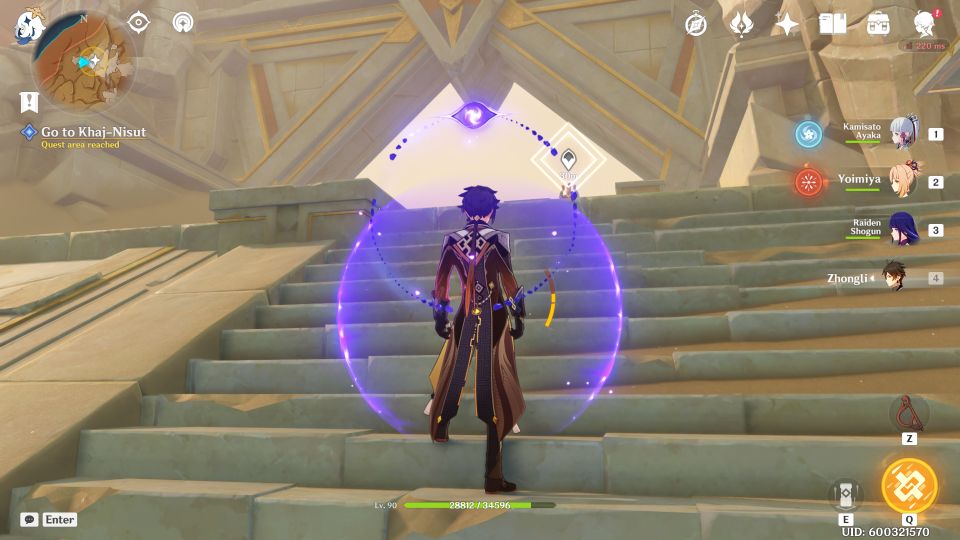
Go to Khaj-Nisut
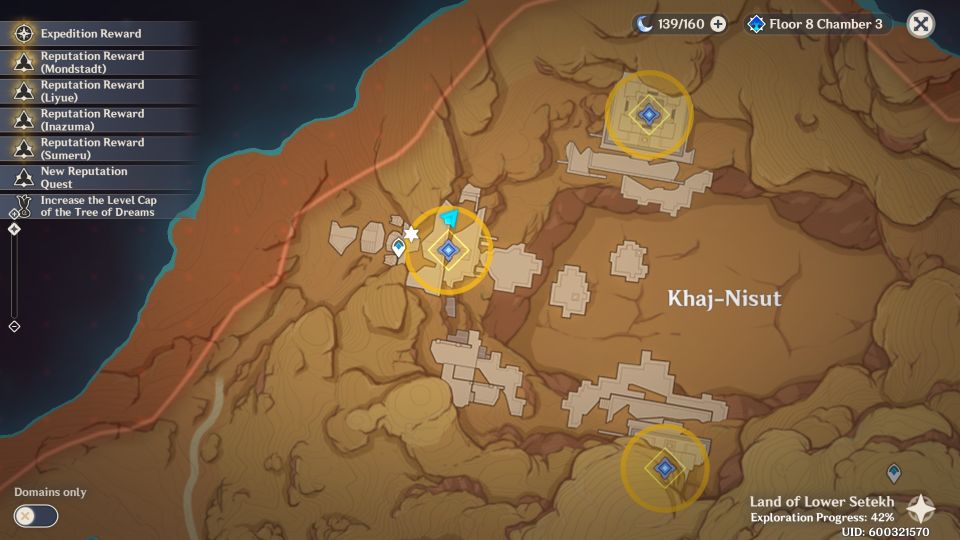
Next, go to Khaj-Nisut. The location is shown in the map below, marked by the quest symbol.
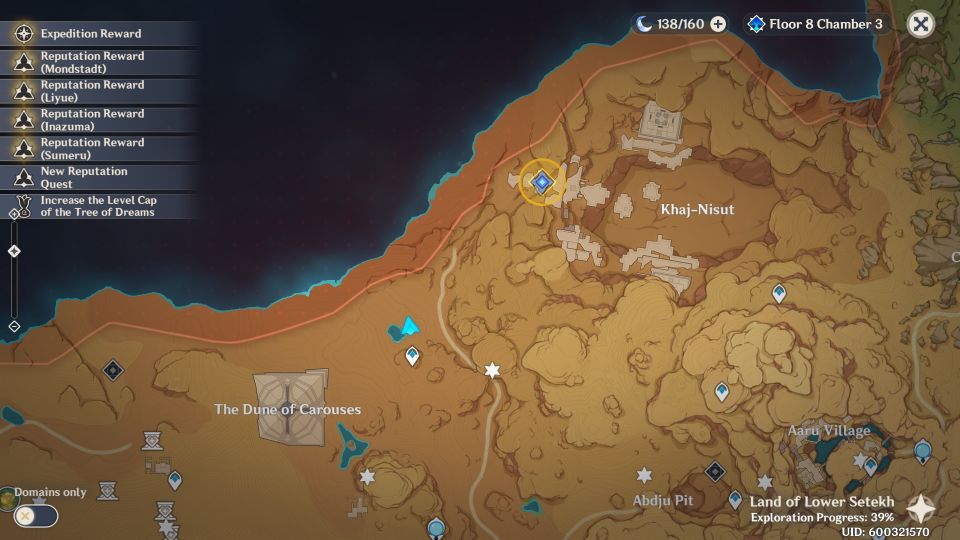
Activate the teleport waypoint when you reach. Walk towards the marker to trigger the cutscene.
Go to the Eremites’ camp
Then, head on over to the Eremites’ camp nearby.
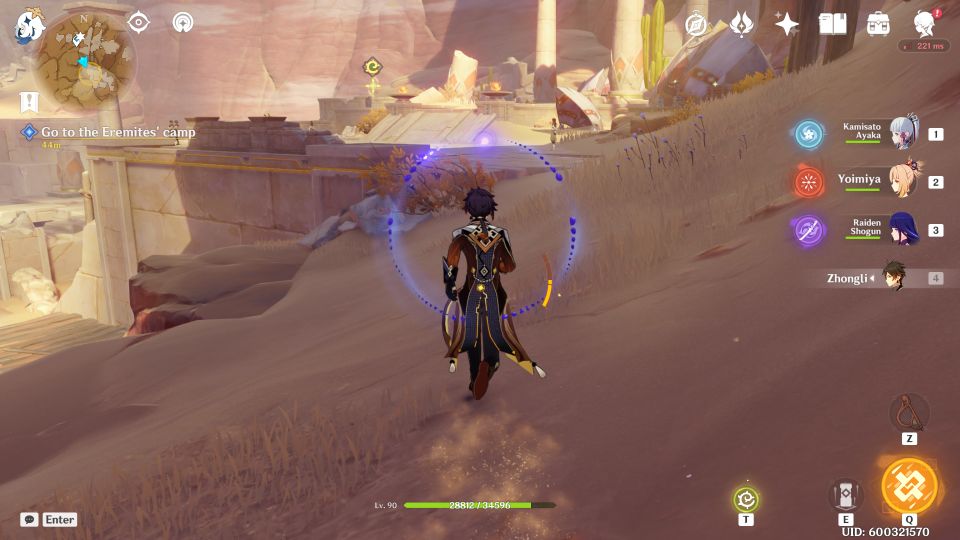
As talks didn’t go well, defeat the Eremites in the campsite.
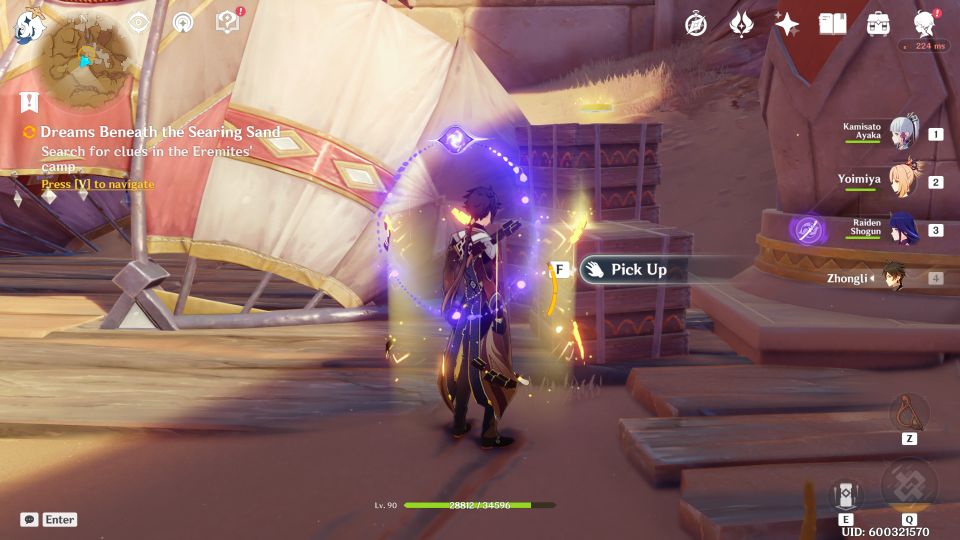
Search for clues
You will then need to search for clues in the Eremites’ camp. All of the clues are in the yellow circle in the map.
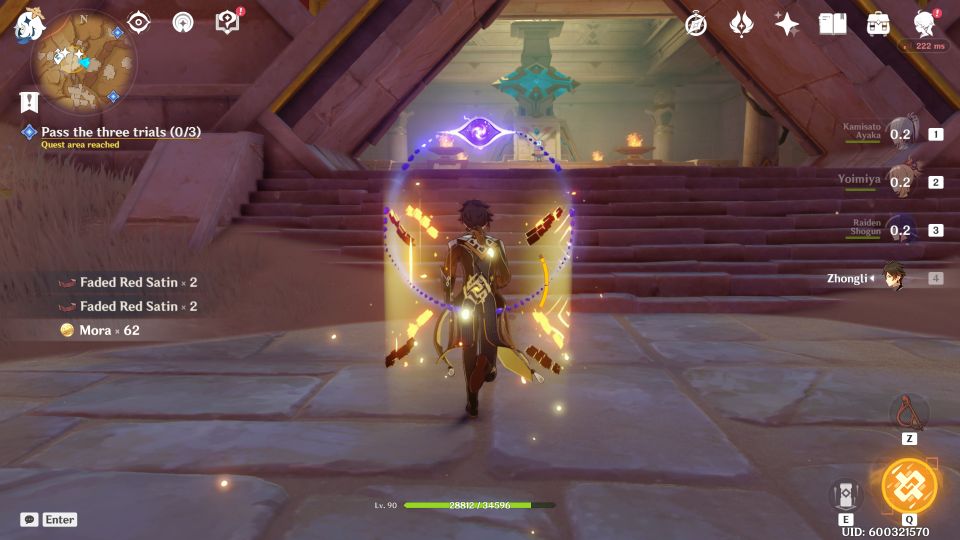
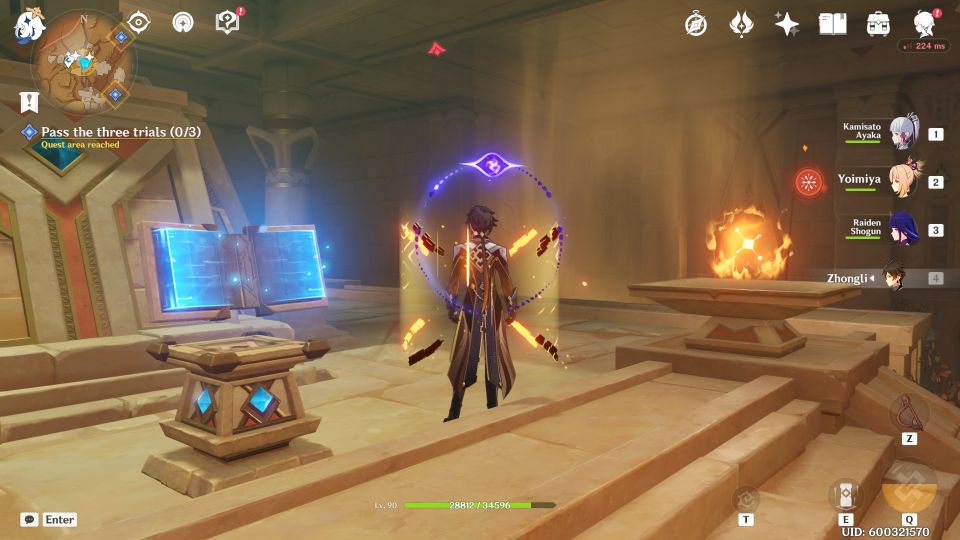
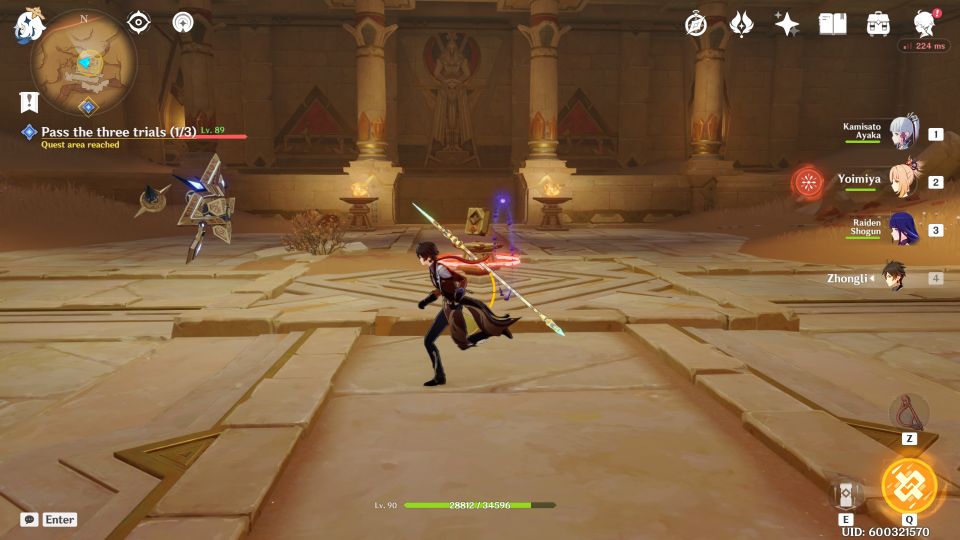
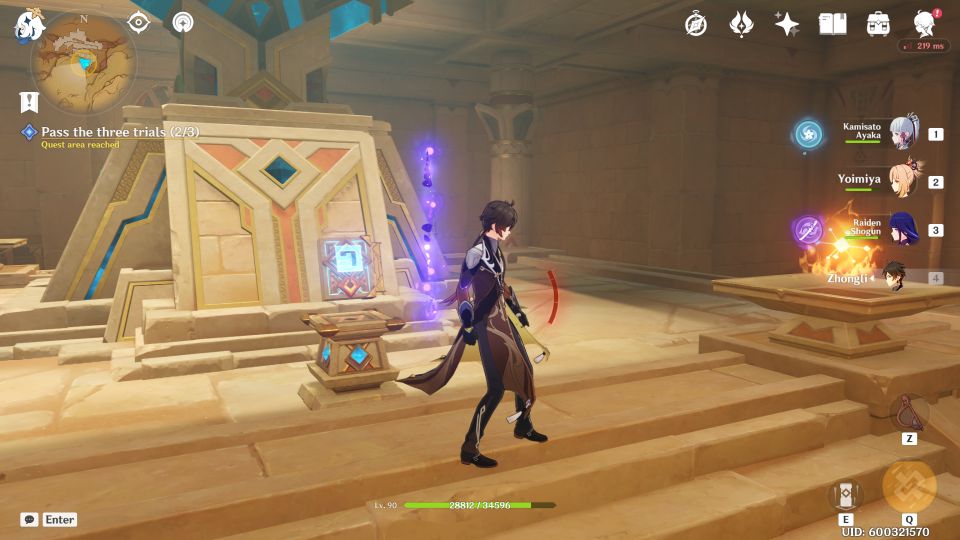
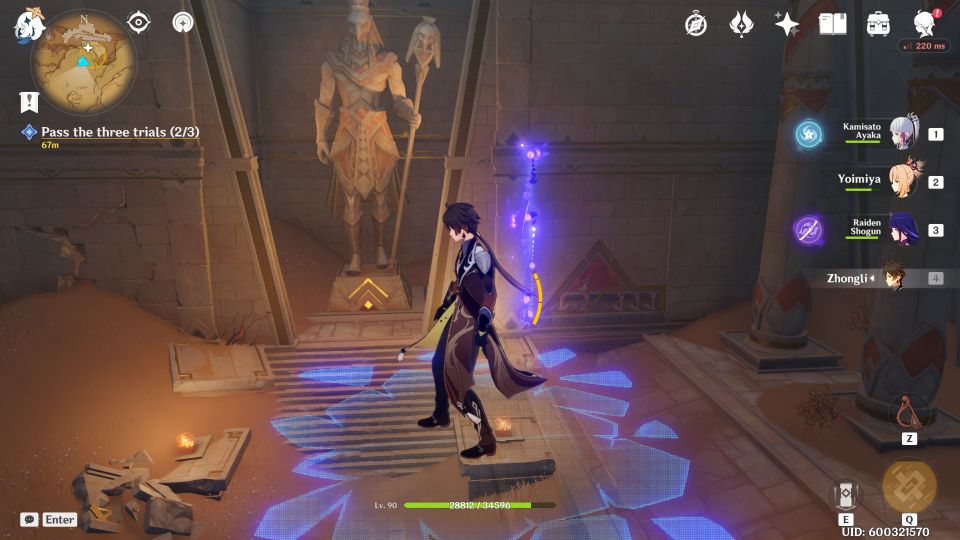
Pass the three trials
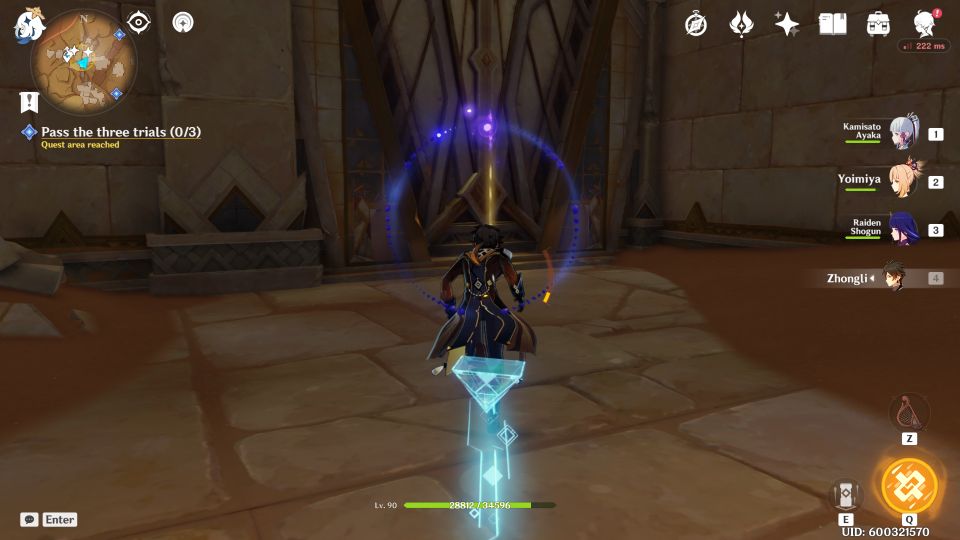
The next part requires you to pass three trials before you are able to access Khaj-Nisut. The location of all three trials are shown in the map.
First trial guide
For the first trial, I went to the one at the entrance (middle).
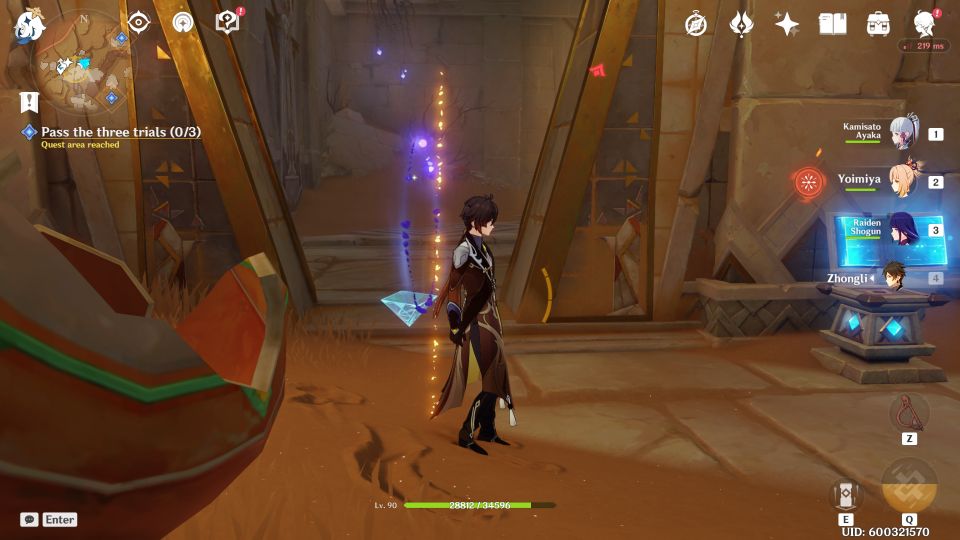
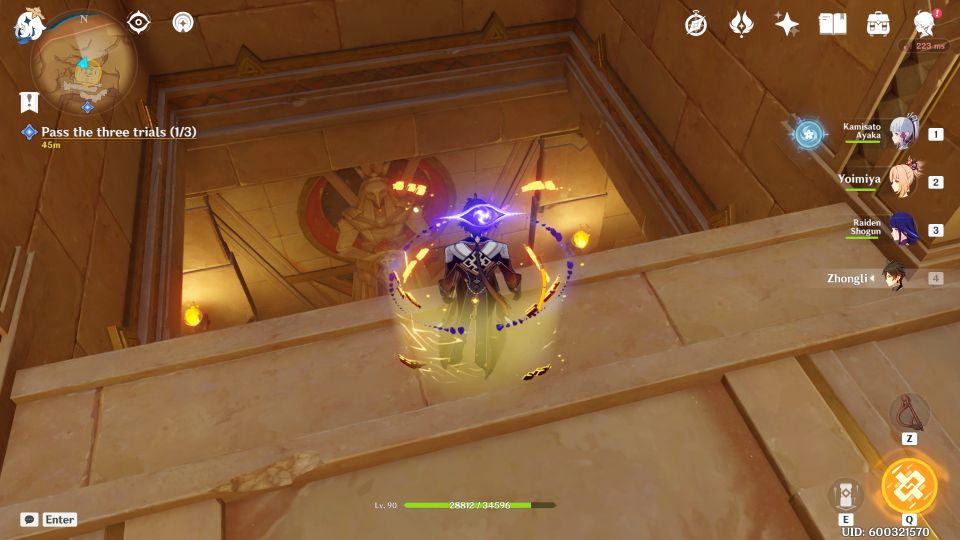
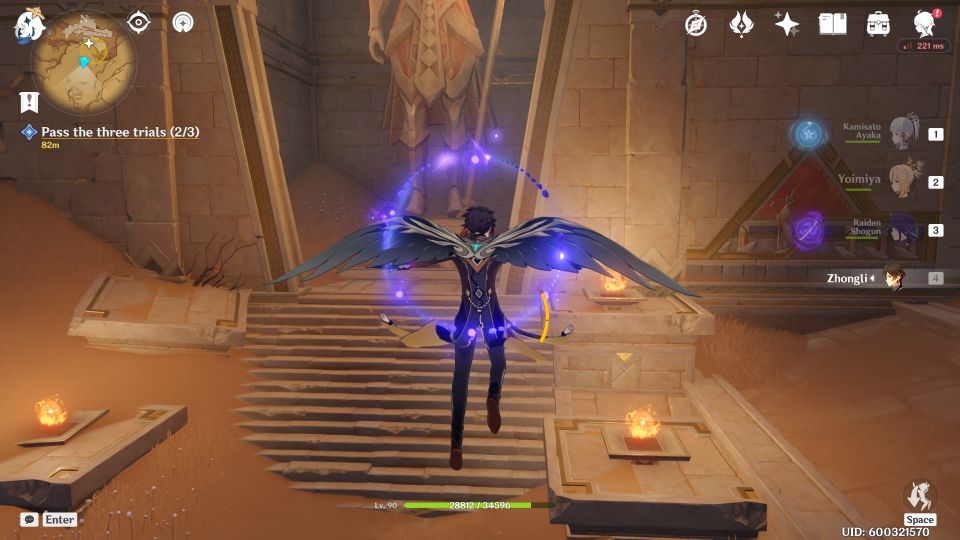
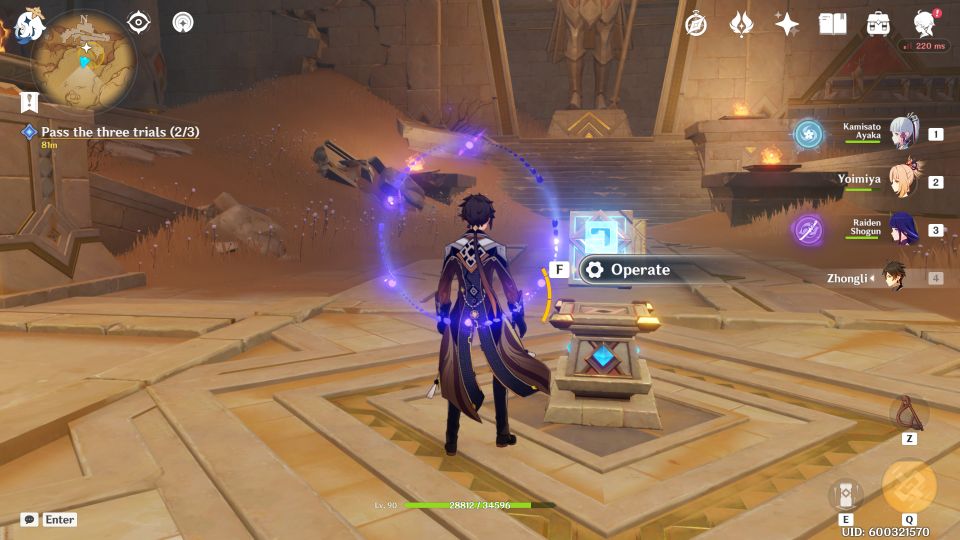
Go inside and operate the stone slate device. You will then see wind current on the right side. Jump down into the hole.
Down here, you have to get the crystal and open the door.
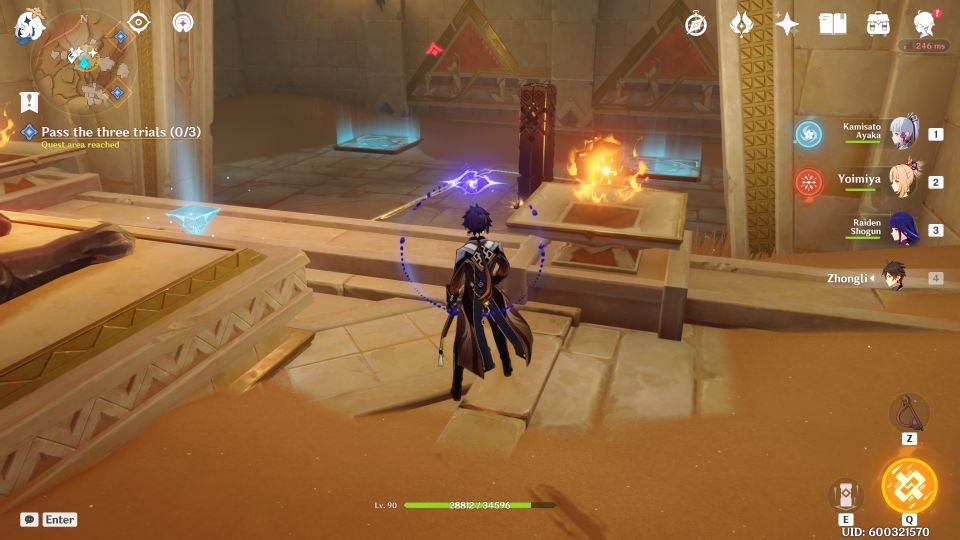
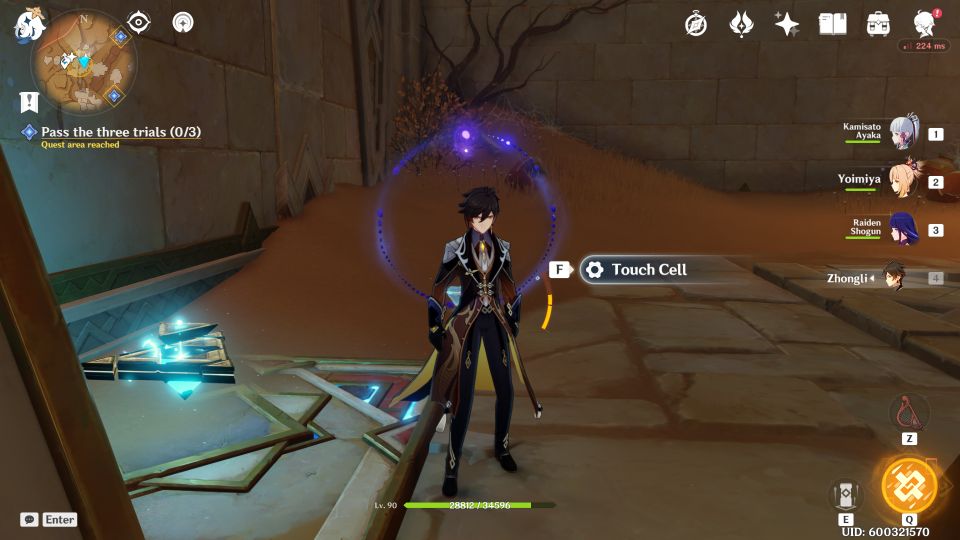
In the next room, you will find another crystal. Use both crystals on the platforms. One will be a laser device and the other is a cell.
Touch the cell as it enables you to make the wall invisible and the laser will pass through.

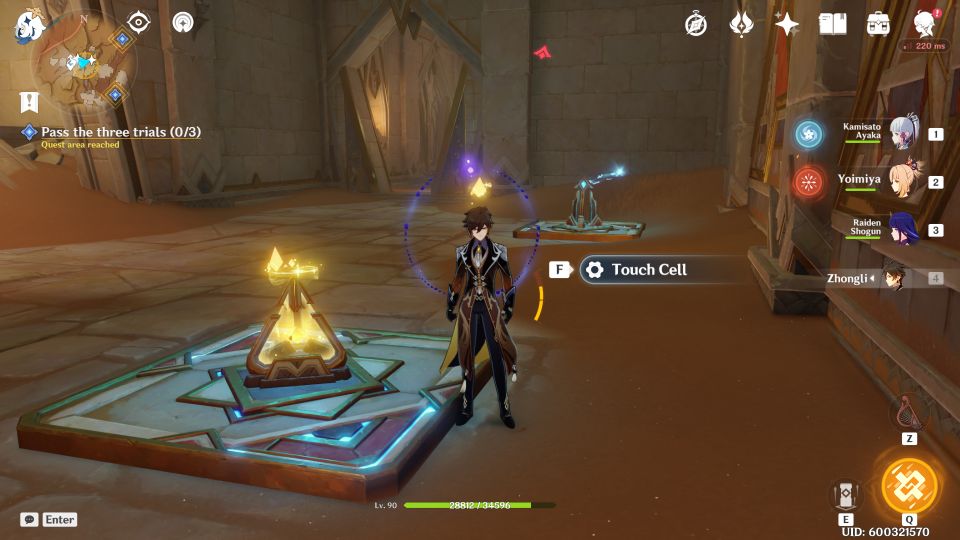
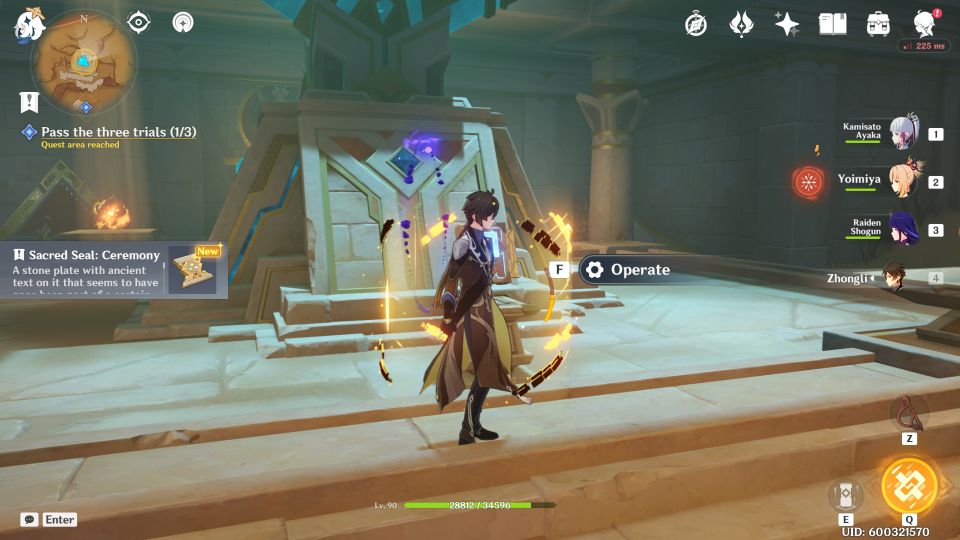
Proceed ahead to the next room. Get 2 crystals and place them on the platforms.
You will get a laser device and a cell device. Touch cell and use it to transform the invisible wall to an actual wall.
Now, head downwards.

You will get a keystone inside a chest.
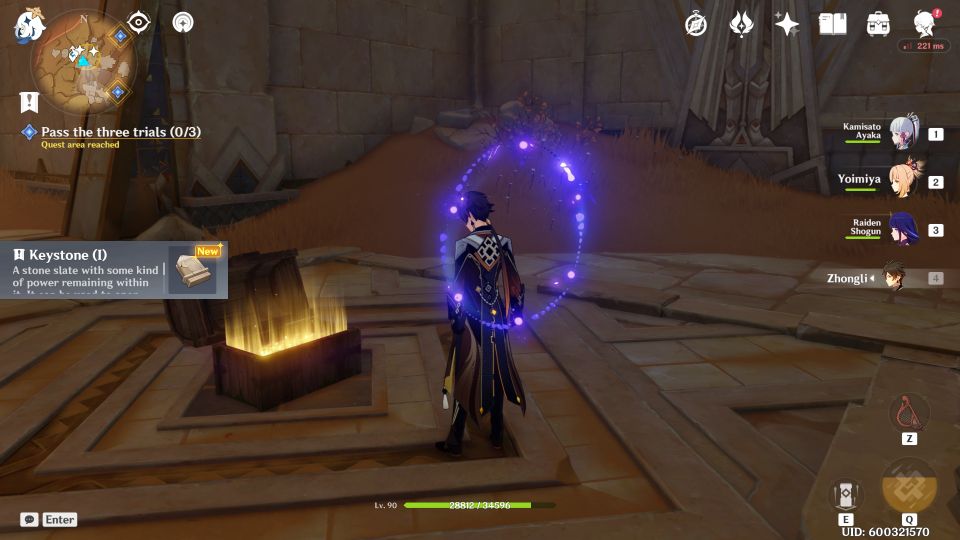
Go back to the first door with the glowing thing. Place the keystone to open the door.
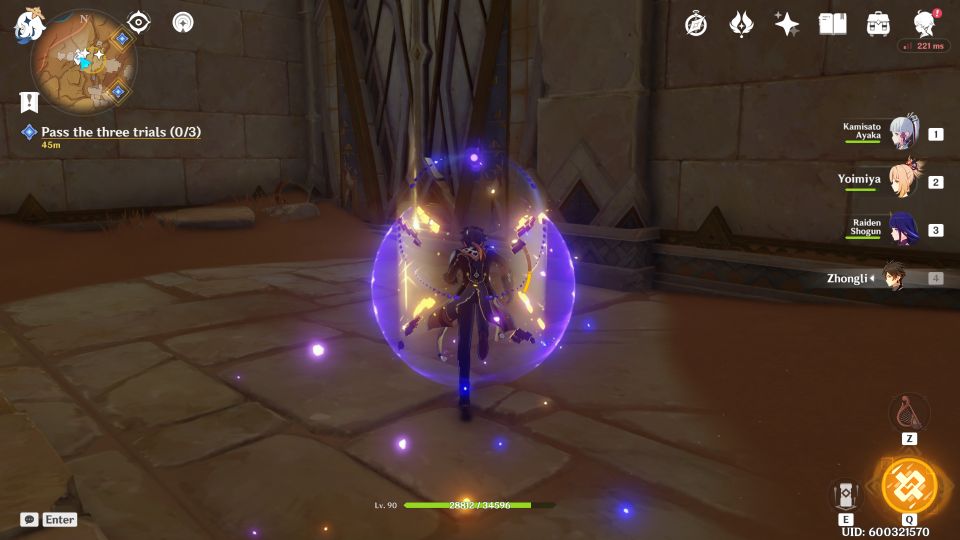
Inside, you will find another chest that will give you keystone (II). Activate the platforms to enable the laser to go through.
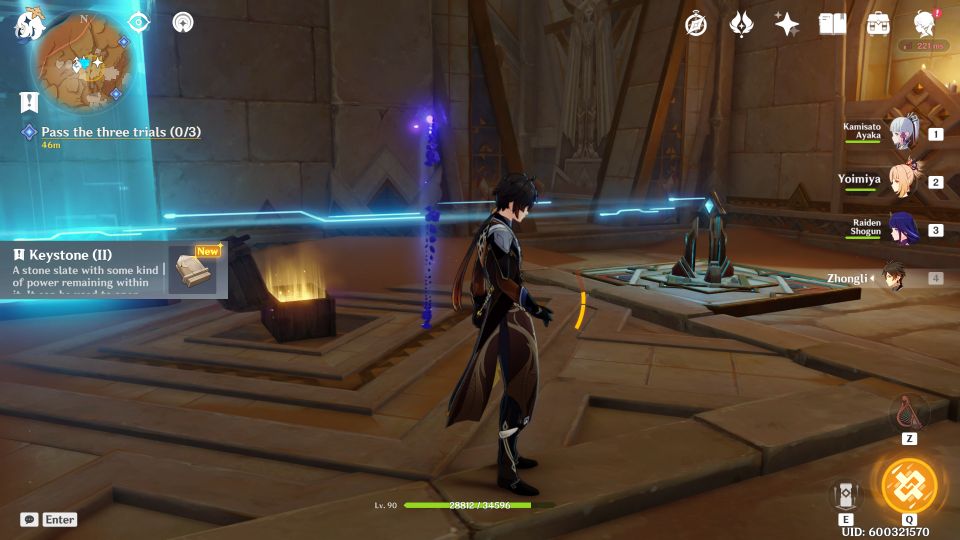
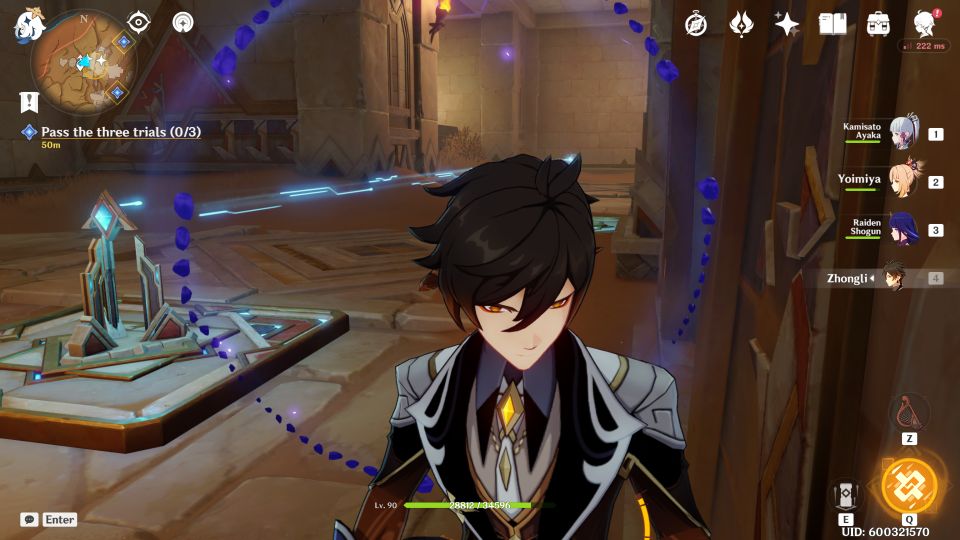
Then, head to the second door with the glowing thing. Use the keystone (II).
Take the crystal and use it on the platform. Touch cell and make the wall be invisible again.
This time, the lasers all connect and the stone slate device is unlocked.
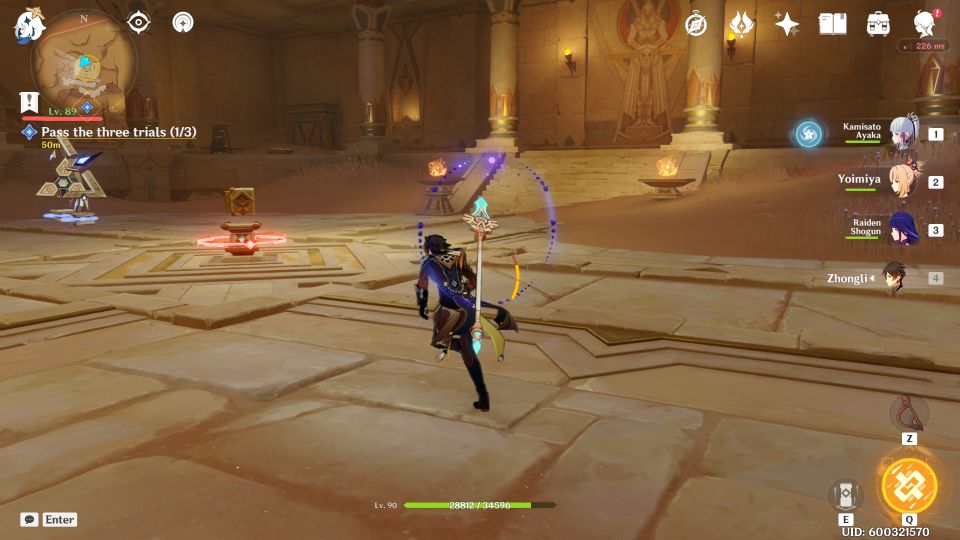
Go to the stone slate device at the cat statue and activate it.
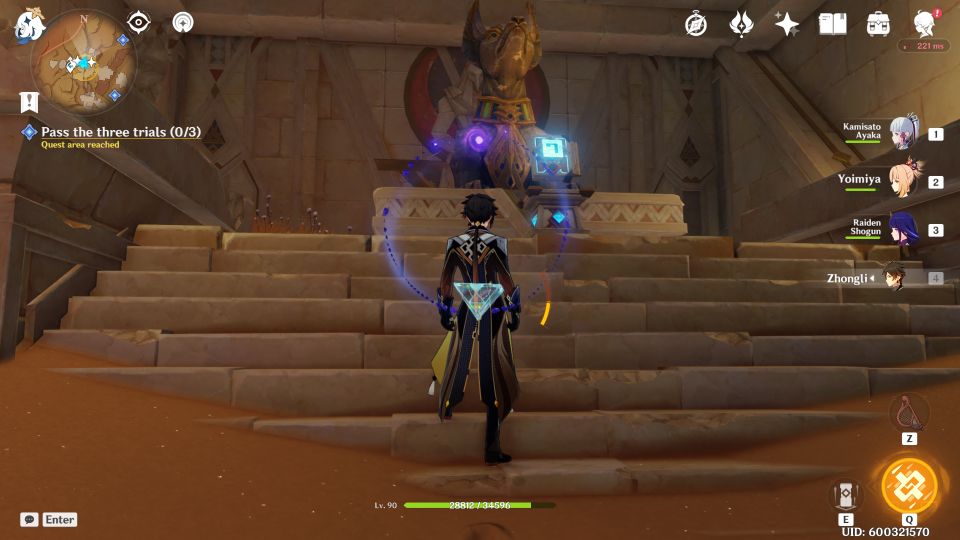
The first trial is over.
Second trial guide
As for the second trial, I chose the one at the northern-most area. Operate the device.
Go down and defeat the Primal Constructs. Operate the device again.
Jump down lower.
You now have to defeat 4 Primal Constructs. Activate the device and the second trial is over.
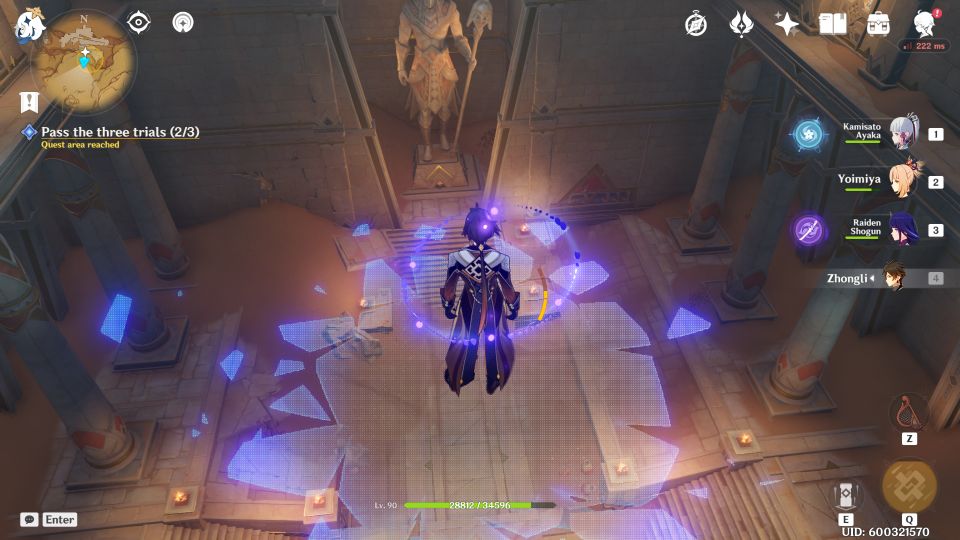
Third trial guide
As for the third trial, I chose the one at the southern-most area.
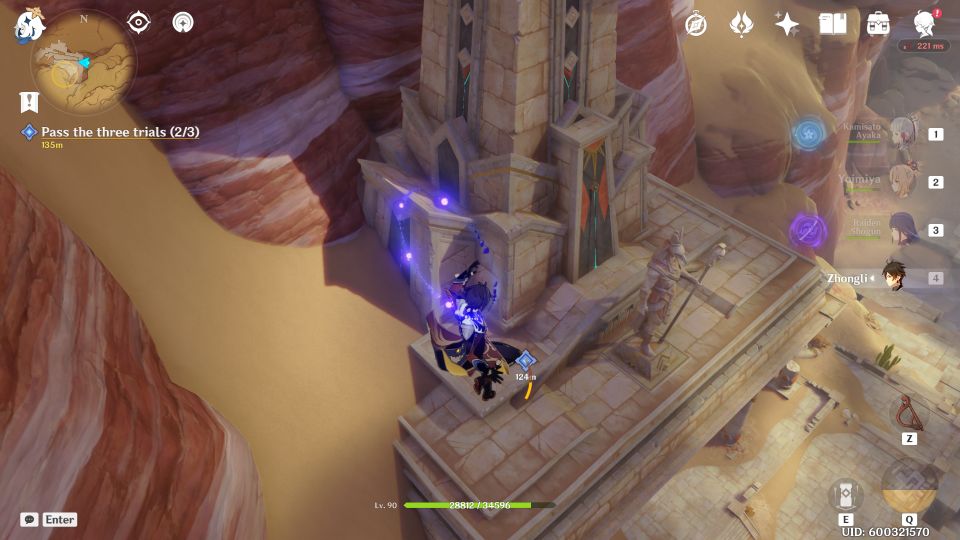
Operate the device to begin.
This time, you have to get all the way down but the floor and walls are invisible. Find your way down.
The first hole is towards the front-right area near the statue.
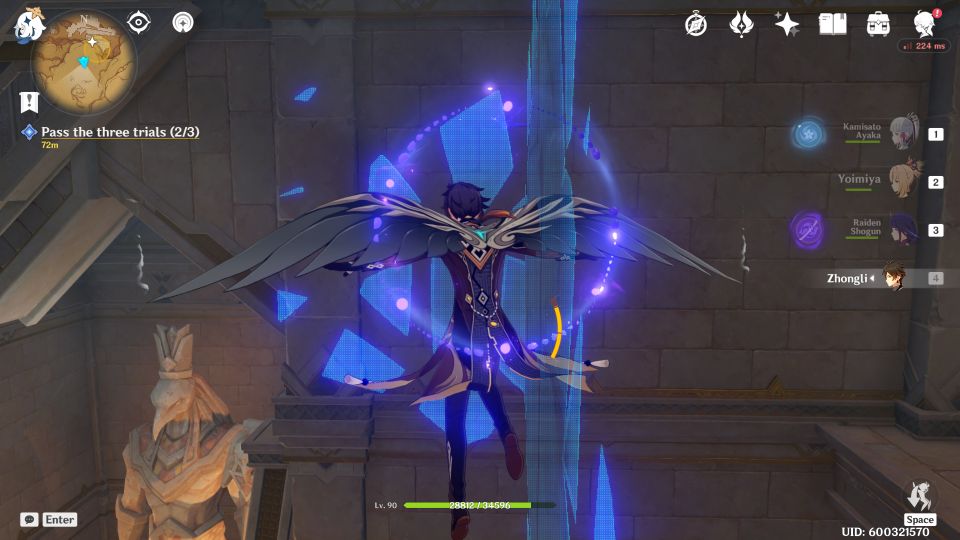
Make your way down.
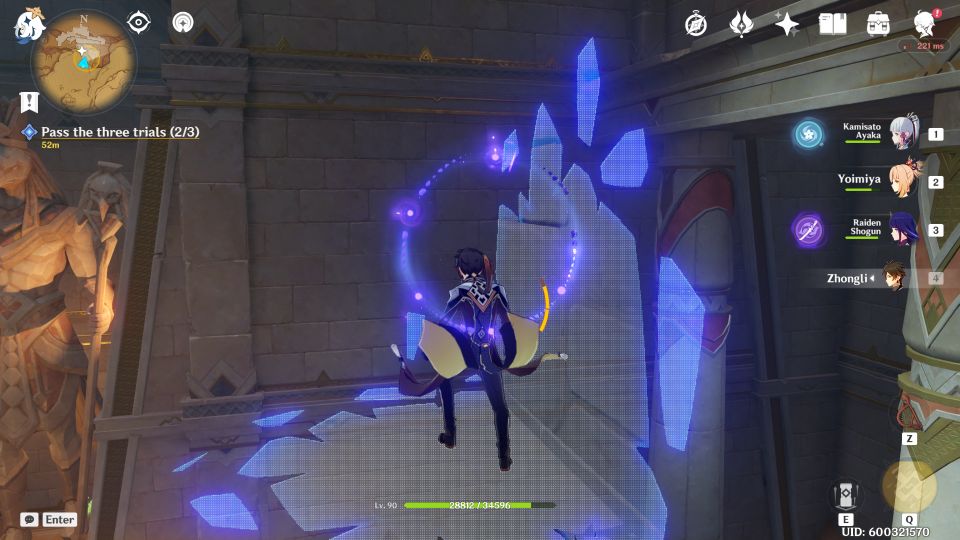
At the bottom, operate the device to pass the third trial.
Find the way to Khaj-Nisut
Go back to the entrance of the Khaj-Nisut area.
Operate the device in the middle to reveal Khaj-Nisut.
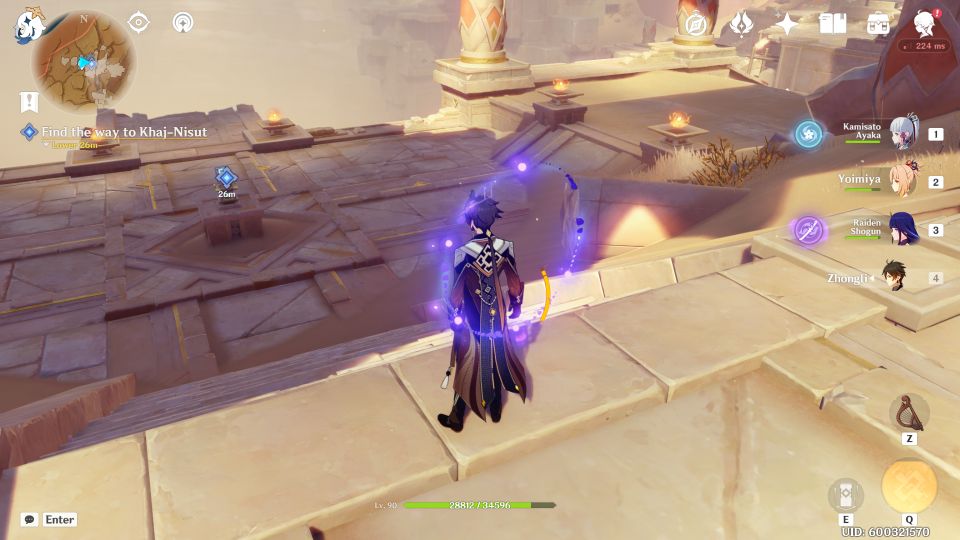
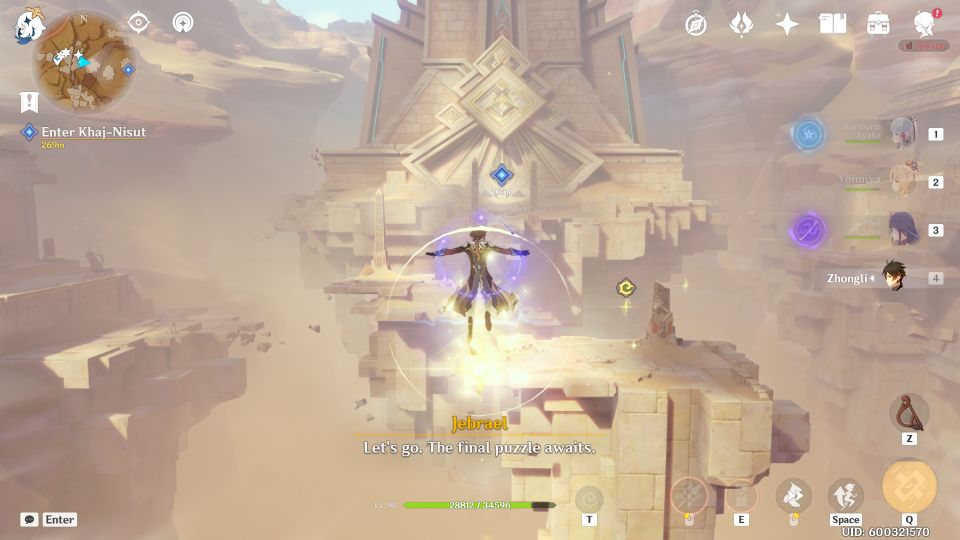
Now, make your way to the main entrance using the four-leaf sigils.
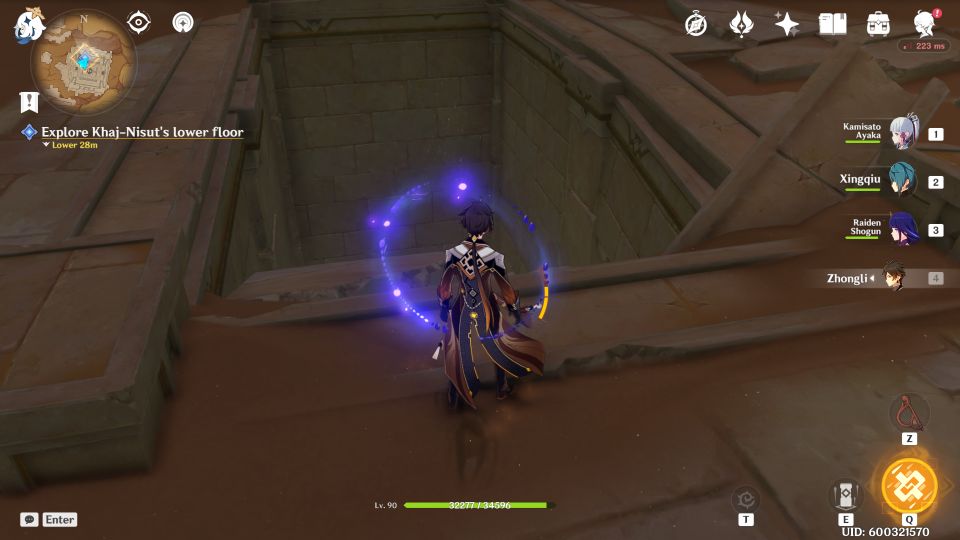
Explore Khaj-Nisut’s lower floor
Once you’re inside, Benben will go down. Follow it down to the lower floor.
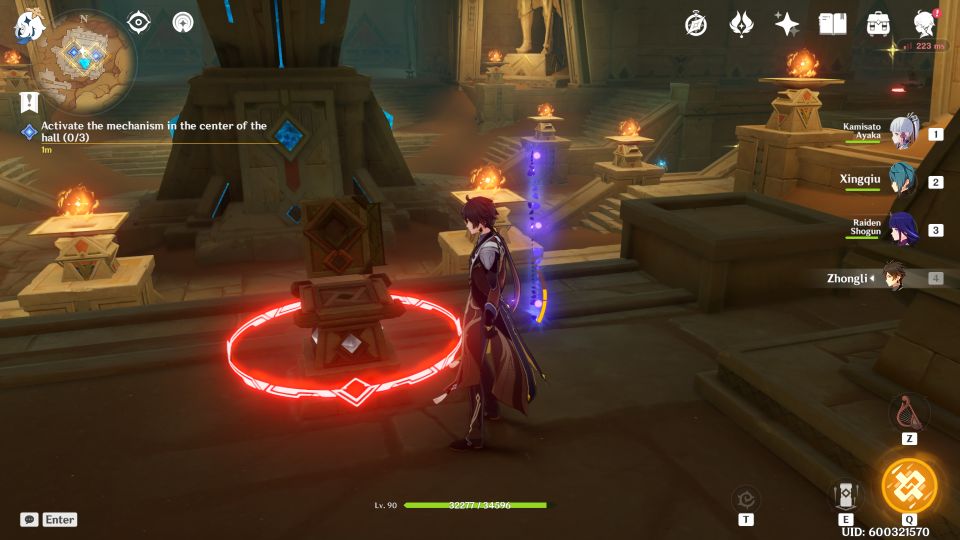
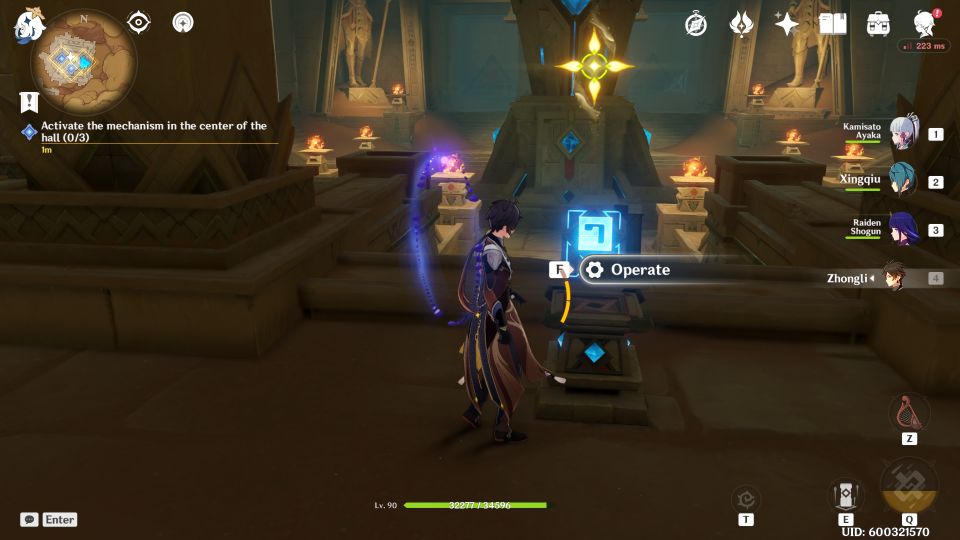
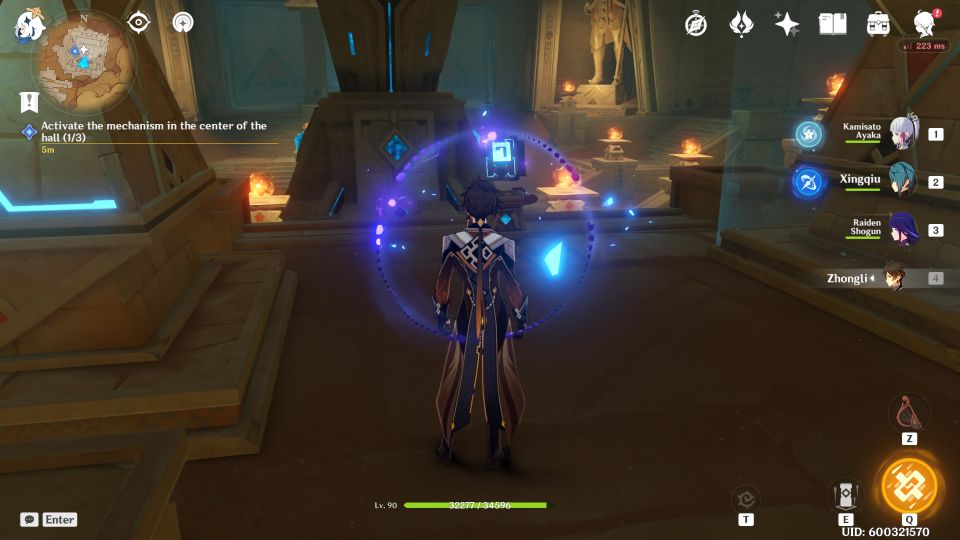
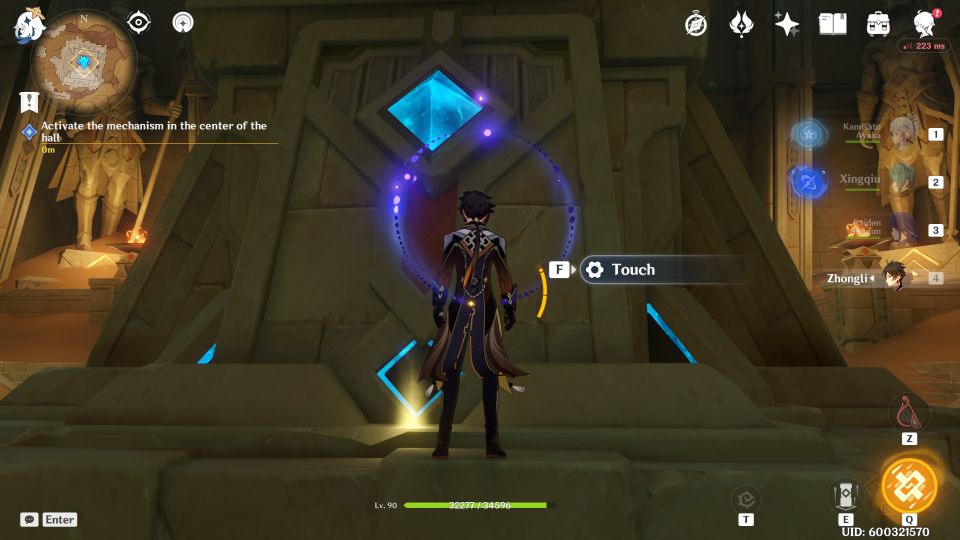
Activate the mechanism in the center of the hall
There are four mechanisms / stone slate devices here. One can be activated.
The other three are blocked by red rings. You have to solve the puzzle one at a time.
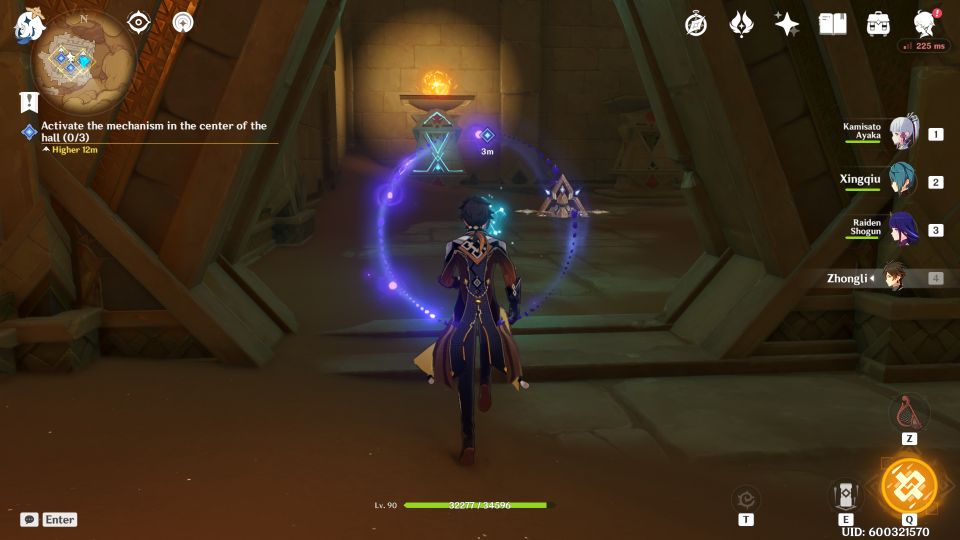
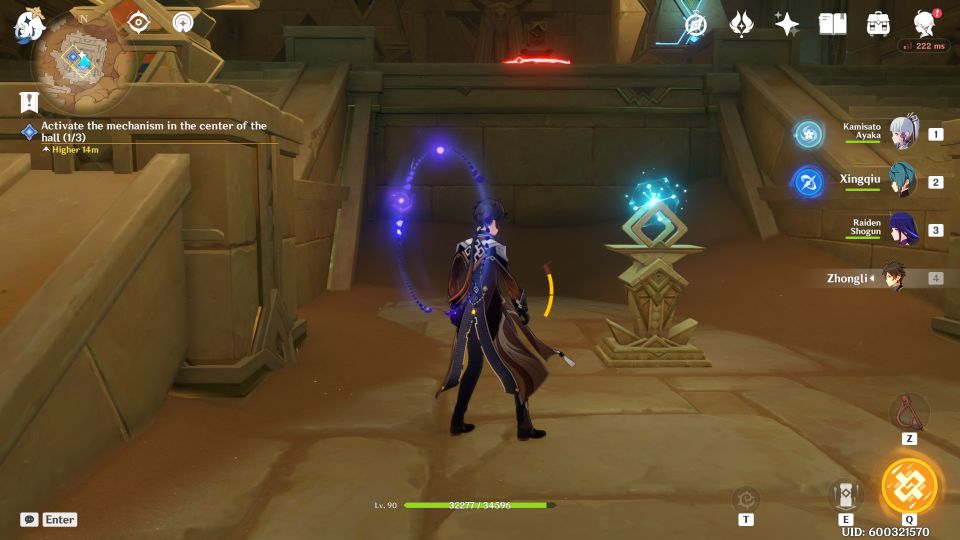
Basically, you’ll find three devices with blue orbs. Release one at a time and follow it. The first one led me to a Primal Construct.
Then the orb will go to the pillar outside. You can then operate the stone slate device near the blue orb pillar.
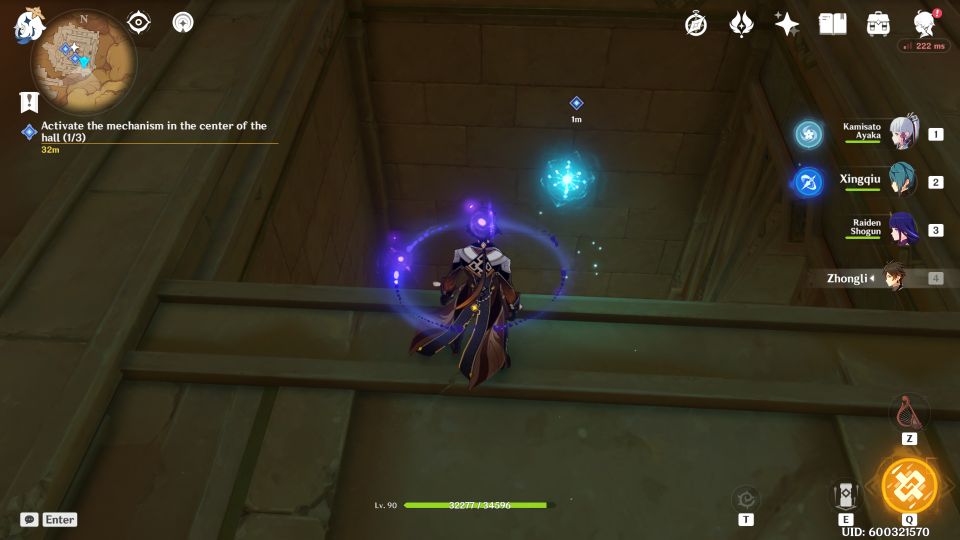
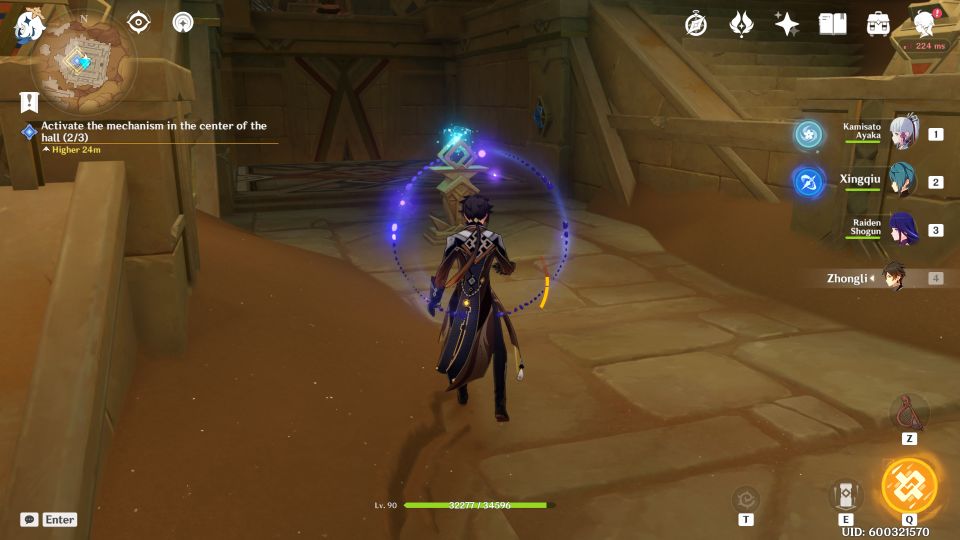
Go to the second blue orb and release it.
Follow this one downwards.
Bring it all the way to the large fans and it will go to the pillar.
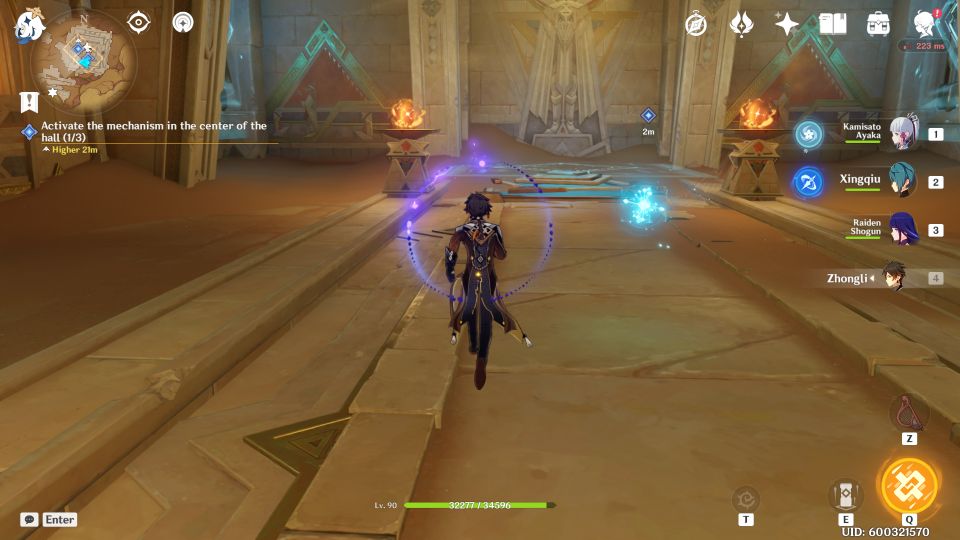
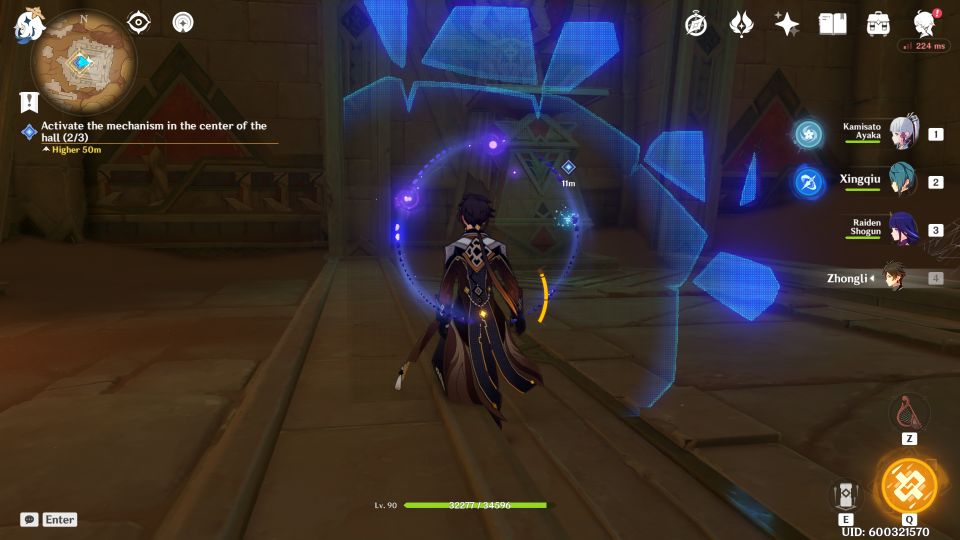
For the third one, release the blue orb.
You will reach some invisible walls but they can easily be navigated through.
Finally, you can activate the last stone device. The mechanism in the center will be unlocked.
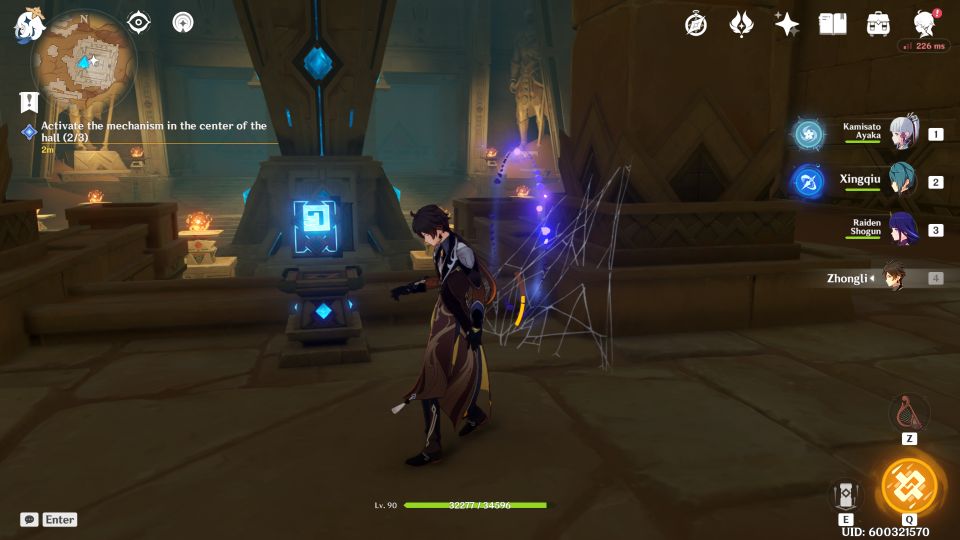
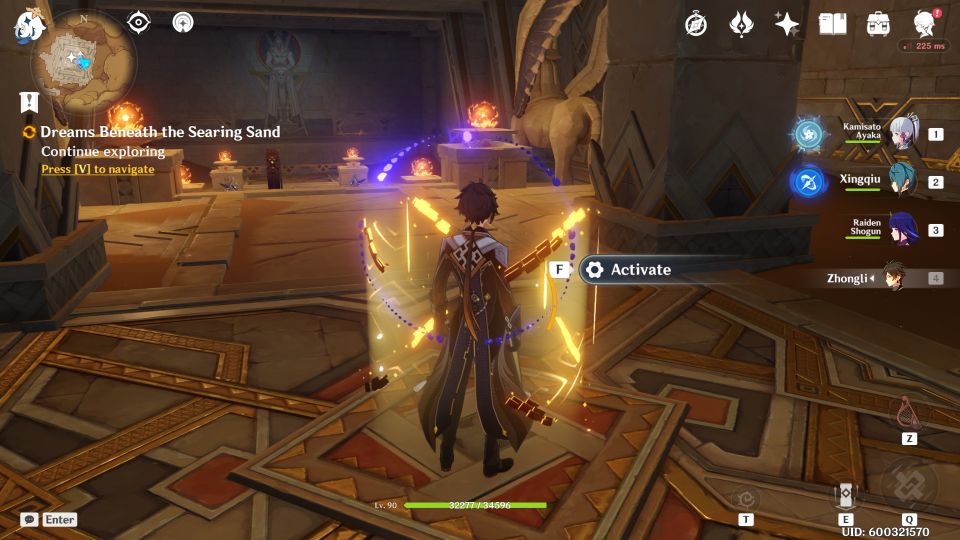
Activate the mechanism
Touch the mechanism to activate it.
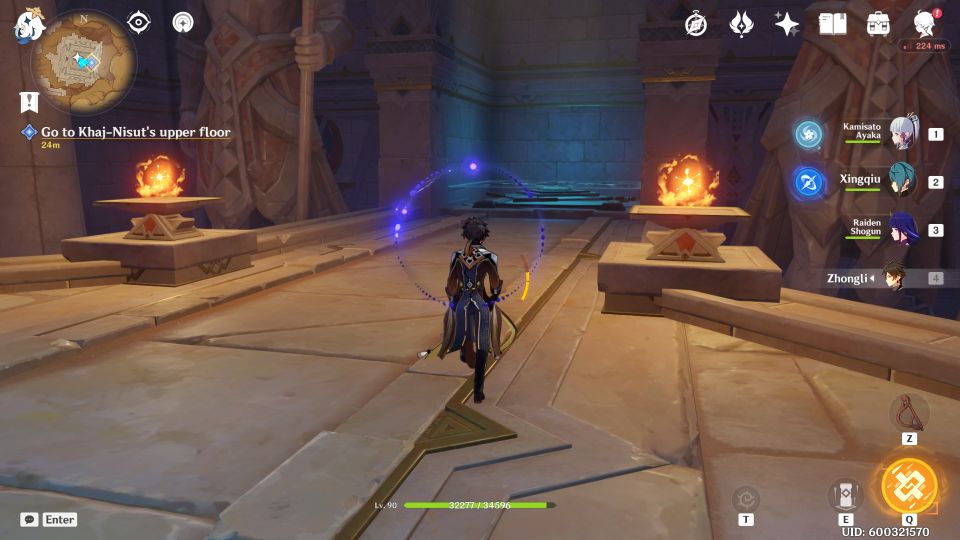
Go to Khaj-Nisut’s upper floor
You will now be able to make your way up with the large fan.
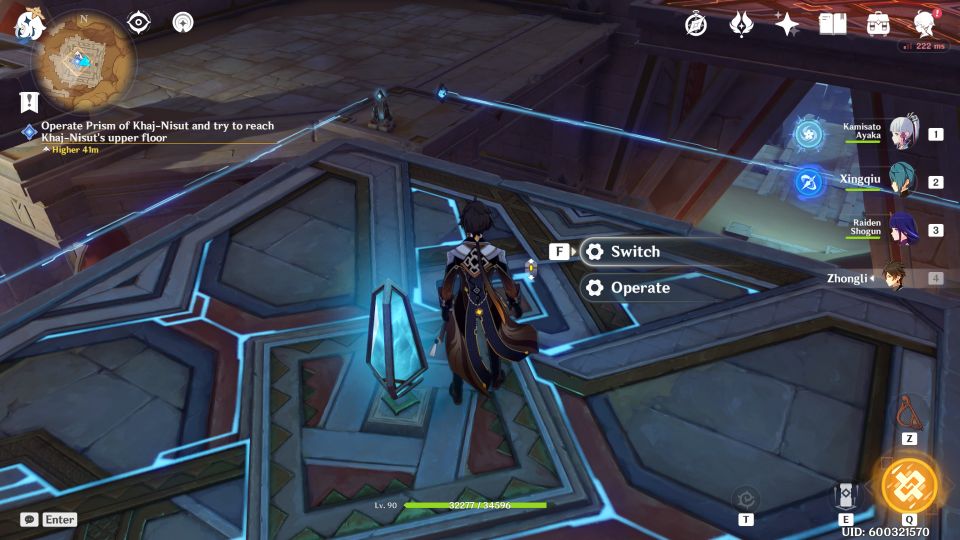
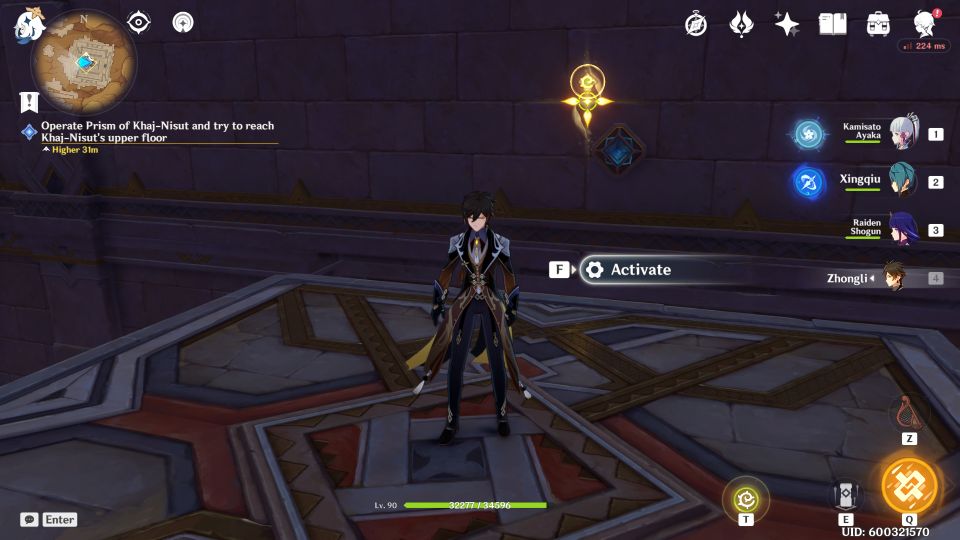
Operate Prism of Khaj-Nisut
At the top you will see a Prism in the middle.
The objective of this puzzle is to move all the red and blue platforms away from the line of the blue lasers surrounding the place.
When you press operate if the Prism is blue, all blue platforms will move up together. If you switch, it will become red and operating it will move all red platforms down.
Once the floating platforms are no longer blocking the lasers, you will see a device on the wall. Use the four-leaf sigil towards it and start the device.
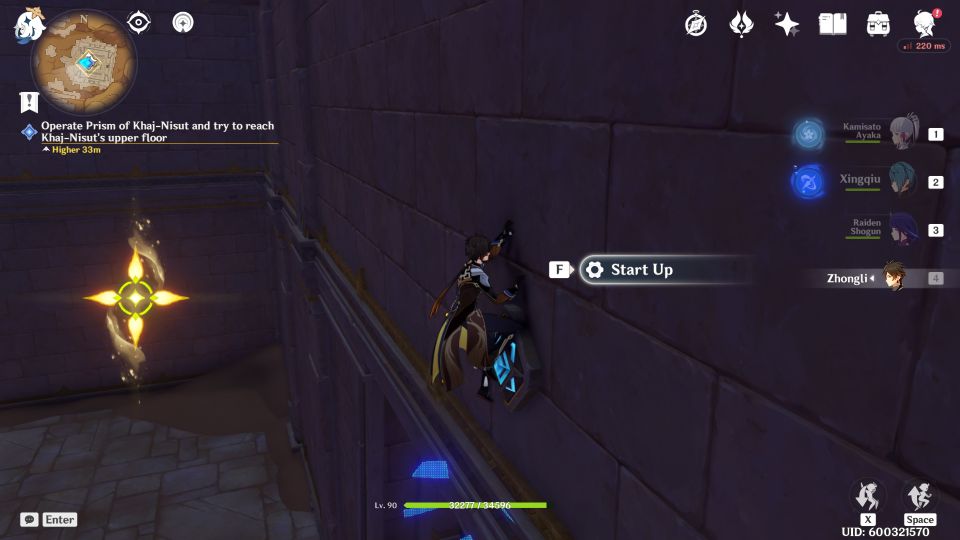
You will get an elevator. Activate it to go up.
Continue exploring
When you reach the top floor, you will see Primal Constructs waiting but they’ll stop attacking.

Go past them and use the elevator to go up.
You’ll finally reach the throne room.
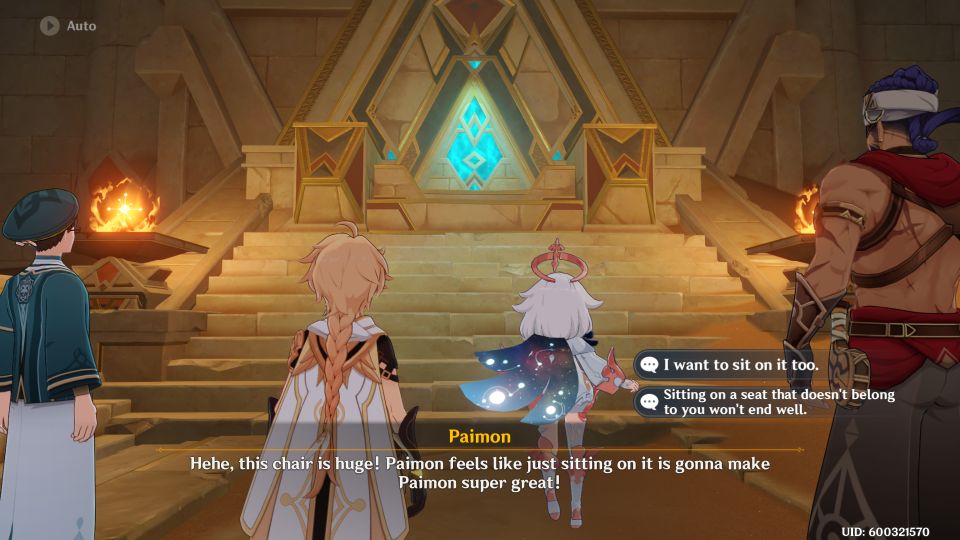
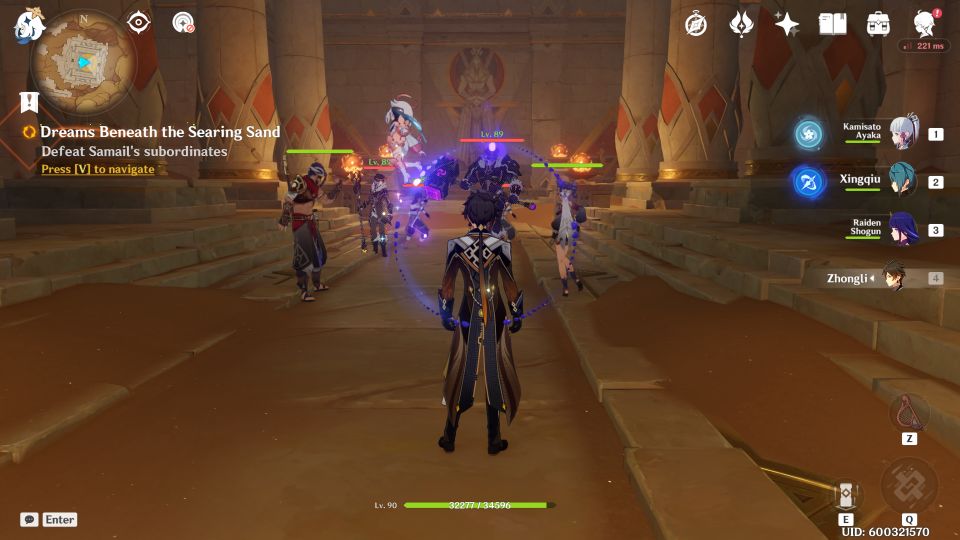
Defeat Samail’s subordinates
After the cutscene, you have to defeat a few waves of Samail’s subordinates.
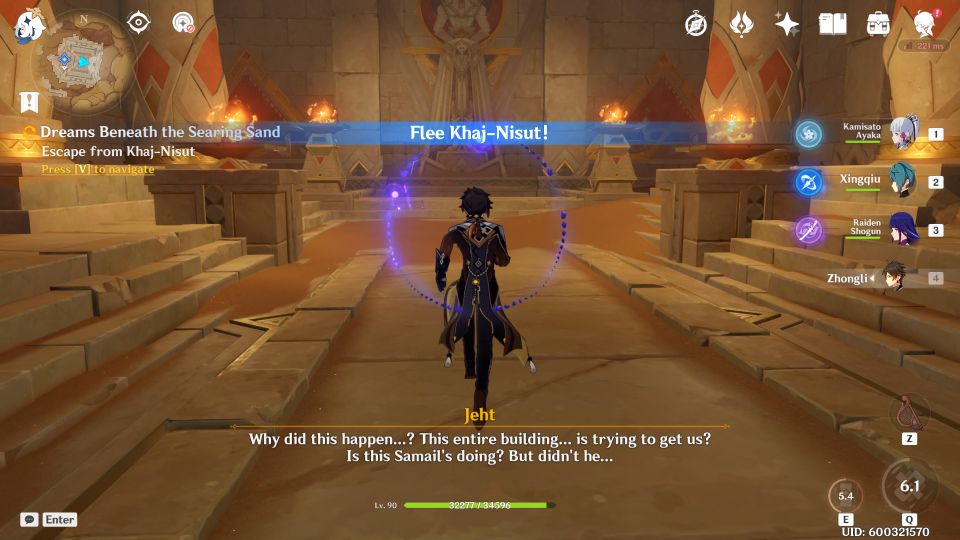
Escape from Khaj-Nisut
After another cutscene, you have to escape from the place. Keep jumping down until you reach the entrance.
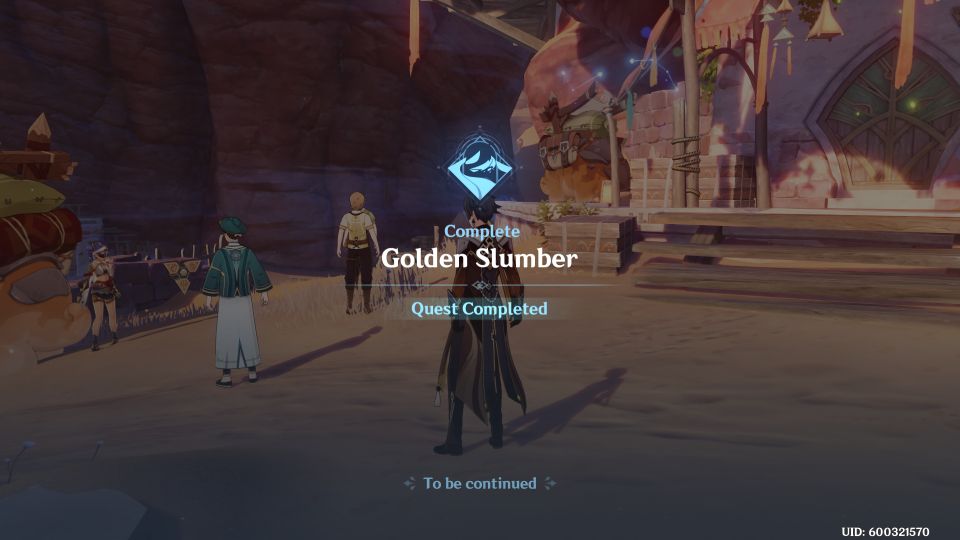
After the last cutscene, the quest ends. The quest line Golden Slumber is also completed.
Related posts: